Pop-Up Elopements with Emily Alt Photography

Pop-Up Elopements with Emily Alt Photography

pop-up wedding in an airstream trailer

You’ve heard of food trucks and pop-up shops, but would you ever consider a pop-up wedding? Emily Alt, a seasoned wedding photographer, hit on this fun, low-stress idea for an elopement ceremony, and I think it’s genius! If you’re interested in a stress-free and super cute pop-up elopement, Emily is taking her trailer to a few U.S. spots like beautiful Traverse City, Michigan (June 13 + July 18), Santa Fe (April 4), New Orleans (March 23), and Beaufort, South Carolina (February 14).

Check out more of what Emily has to say about her pop-up weddings below, and visit her photography website to see more of her work.

pop-up wedding in an airstream trailer midwest pop-up wedding in an Airstream trailer

“Guys. Newsflash: Weddings and marriage are supposed to be fun. They aren’t supposed to cause your hair to fall off with the anxiety of ensuring that everyone around you is okay. They are about YOU and your Tru Luv 4 Eva. I talk to a lot of people every day- the couple, vendors, family members, etc- all about planning the wedding, organizing the timeline, getting the cake cutting right, making sure the bridesmaids’ dresses don’t clash with the tablecloths and, honestly, it was getting a little insane.

“I realized that people were really overwhelmed trying to do a Pinterest-worthy wedding in 2014 that the main point of their day (The love! The passion! The marriage!) was getting lost in the shuffle. Pop-up shops are so popular for fashion and beauty projects, I figured, why not do a pop-up wedding? We’ll take on all the stress of your wedding planning–you just show up for a great time.”

pop-up wedding in an airstream trailer

“A pop-up ceremony` is first and foremost LOW stress for you. Again, I really wanted to make sure that couples weren’t freaking out about planning their weddings, so a pop-up makes sure that is the case. Literally, you just have to show up, dressed and ready to say your vows, with your marriage license and we take care of the rest. I’m working with an amazing stylist for all the locations, Amy Baker, whom I met through another wedding I shot last year. She will be doing all of the florals, hand lettering, details and decorations- and she’s absolutely awesome! Everything is taken care of, so it’s sort of like a vacation- a version of the Las Vegas elopement without all the weirdness of Las Vegas, in a really cool city with a better, more healthy vibe.

“Since you can only invite 20 people, you know the folks who are going to be there are the best of the best.  Or, you can make a Pop Up super intimate and just have you as a couple present. There’s something really amazingly beautiful about saying vows to one another with only yourselves as witnesses. I think at the end of the day, the Pop Up allows couples to be themselves–a small, quiet, intimate elopement type ceremony in a cool city with an Airstream trailer as a backdrop?  I wish I had done that!”

pop-up wedding in an airstream trailer

pop-up wedding in an airstream trailer

Pop-Up Elopements in an Airstream Trailer

“Lots of people are up for throwing tradition aside and taking this pop-up route.  Our couples are super diverse, some flying into the city of their choice just the two of them and treating it as an elopement, while others bring the whole 20 person group up to their favorite spot in Northern Michigan. Some couples are embarking on their second marriages, and others are working professionals who just don’t have time to let wedding planning take over their lives. Most of our couples are pretty independent and creative types. You’ve got to be strong to tell your mom that you’re only having eight people at your wedding!”

pop-up wedding in an airstream trailer

“We based the pop-up wedding locations off of a few things- First, our Airstream road trip would take us through these areas. We wanted to stay in the South as much as possible (driving a 31′ trailer over mountain passes in ice and snow is sort of my worst nightmare) so that is why most of the locations are in the South.  We also love these cities–Santa Fe is our spirit animal city, New Orleans is loads of fun, and Traverse City is where we spend our summers, so they were all sort of no-brainers.  If we do expand, we definitely want to go to Charleston, SC and Austin, TX next year. They’re also pretty much the cat’s pajamas. However, we would also love to take suggestions from readers!”

Check out Emily’s current travel schedule here.

pop-up wedding in an airstream trailer

pop-up wedding in an airstream trailer

Emily Alt Photography is a sponsor of Making Nice in the Midwest. Click here to learn more about partnership opportunities.
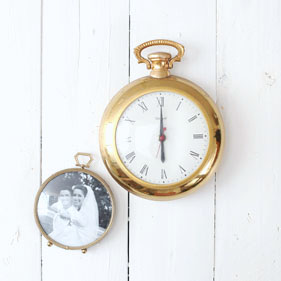
 

Vintage Home Goods – Instagram Flash Sale

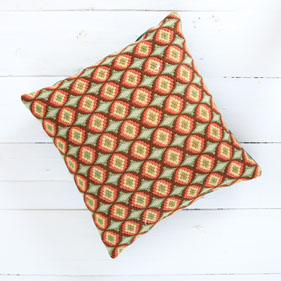
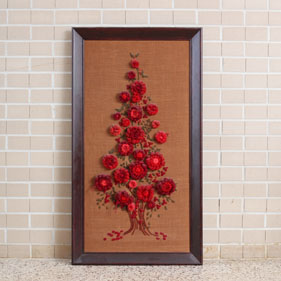
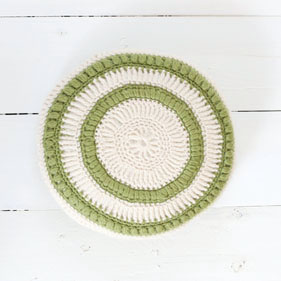
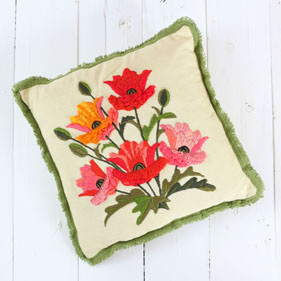
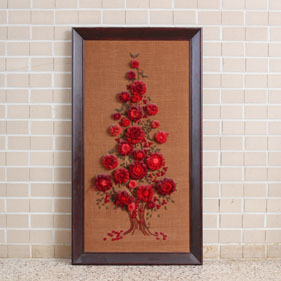
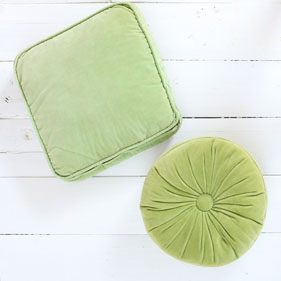
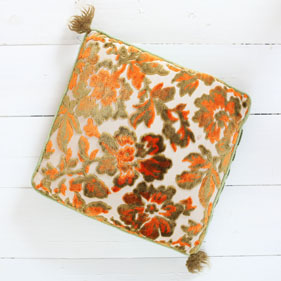
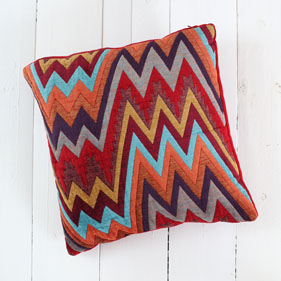
Vintage Homegoods Flash Sale Vintage Homegoods Flash Sale

Hey guys! I’m hosting my very first ever Instagram flash sale tonight! Starting at 7PM EST, I’ll be listing these vintage home goods on my alternate Instagram account- MandiMakesRoom. Win a sale by being the first person to comment with your PayPal e-mail address, and then I’ll send you the invoice and ship off your goodies to your registered PayPal address. Prices will be listed in the photo description. Don’t have an Instagram account? Comment here with your PayPal e-mail address, and I’ll quote you a price if you’re faster than an Instagrammer.

What spurred on this most recent purge? We’re getting a new sofa next weekend! Wahoo!

Vintage Homegoods Flash Sale Vintage Homegoods Flash SaleVintage Homegoods Flash Sale Vintage Homegoods Flash SaleVintage Homegoods Flash Sale Vintage Homegoods Flash SaleVintage Homegoods Flash Sale Vintage Homegoods Flash Sale

Cut a Bold Photo Mat for a T.V. Gallery Wall

How to Balance out a T.V. with a Gallery Wall

Gallery walls can be these crazy intimidating monsters that either turn your home into a tacky mess or consume your every waking thought until your wall is perfect. Which it never is. So basically, they’re just monsters. It’s so tricky to do a gallery wall and do it right! But I knew that’s what I wanted to do on our T.V. wall, because let’s face it, T.V.s are big ugly black things that aren’t easily disguised in an otherwise white room. But a gallery wall can be a great solution for deemphasizing a T.V. So I embraced the monster.

cutting a photo mat

Mandi's dad from Making Nice in the Midwest

The trick to helping a t.v. fit in nicely with a gallery wall is to balance it out with another bold, black piece in the arrangement. I considered buying a dark, graphic poster (and by graphic, I mean bold, not explicit…), but when it came down to it, I realized that this wall was going to look extremely busy if I didn’t start simplifying things. So instead of using a dark poster, I decided I would put a large black mat inside one of my thin 13×19 black frames, and keep it simple by cutting only a small section out of the mat to frame a little vintage snapshot.

I found this little photo of my dad posing in front of my grandparent’s family car back in ’62, and I knew it needed to be hanging on our wall. The photo is originally only about 3.5″ square, so I scanned it onto my computer and resized it to be about 6″ square, so it wouldn’t get completely lost in the gallery wall. Then I went to the store and bought a piece of dark gray (almost black) mat board to frame it out.

How to Cut a Photo Mat

Here’s what you need to cut a photo mat:

  • Photo
  • Frame
  • Mat board at least as large as the frame
  • Craft blade
  • Mat cutter (I found this freehand one for $10 and it works just fine!)
  • Non-slip steel ruler
  • Pencil
  • Cutting Board 

How to Cut a Photo Mat

cutting a photo mat

Step One: Lay the glass from your photo frame onto the corner of your mat board, trace around it with a pencil, and then cut out the mat with a craft blade and steel ruler. Be sure to use a fresh blade for best results! I like a non-slip ruler for obvious reasons, but I know other people who dislike them because your blade can slide under the raised edge and make your cutting less accurate. I don’t think it’s a big deal in this instance, though.

Step Two: Draw the lines for where your mat will be cut. I made the cutting area 1/4″ smaller than the size of my image. I wanted the border to be equal around the photo on the bottom and sides of it, so I measured in from the outsides and bottom of the cut mat board.

How to Cut a Photo Mat

Step Three: Place a new blade inside the freehand mat cutter by unscrewing the black knob and sliding the blade in until the rounded top of it reaches the line for the type of mat you are using. I am using a standard mat, so I tightly screwed in the blade to the line that says “STD.” If you are using a double thick mat (which would be absolutely luscious!), screw the blade tightly into the line that says “DBL.” Be sure the black knob is tightened as tight as you can get it, or it will move during cutting and really mess up your edge.

Step Four: Place your ruler along one of the lines you drew for the cutting border, and rest the mat cutter against the edge of the ruler. You will begin piercing the mat board 1/4″ above where the edge of your cutting line begins. After inserting the blade into the mat board, readjust the ruler if necessary before slowly dragging the mat cutter along its edge. Hold the ruler very firmly so that it doesn’t move during cutting, or else your cut edge will be wavy. This is where the non-slip backing of the ruler comes in handy!

Be very sure that you are cutting on the correct side of the line, which would be the inside of the square. If you are cutting from the outside of the area you are cutting out, then your mat will be cut in reverse. Think before you cut! I’ve made that mistake before and it’s unnecessary and frustrating.

How to Cut a Photo Mat

After your mat is cut, place the photo behind it and use tape at the corners to keep it in place. Matt board is easily scuffed and marred, so be careful when transporting it from the store, and be extra careful when you’re working with it too. I put my freshly cut mat and photo behind the painstakingly cleaned glass of my frame before I came to the conclusion that the glare against the black and the glass was just the worst thing in the world. So I took out the glass, and now my mat isn’t protected, but I figured reprinting a photo and cutting the mat wouldn’t be half as bad as being aggravated by glare every time I glance up at the photo. Priorities.

How to Cut a Photo Mat

How to Balance out a T.V. with a Gallery Wall

arranging a gallery wall

I further simplified the gallery wall arrangement by removing the art that was previously in those two matching white 8×10 frames and filling them with these creepy eyes that were inspired by Twiggy and T.J. Eckleburg. I drew them digitally and just printed them out onto presentation paper to stick in the frames. Instead of putting a photo in the top right picture frame, I painted some card stock with fuchsia and orange acrylic paint and called it art.

In my opinion, gallery walls do need a little interest, as long as they’re not too busy. I don’t typically enjoy using all of the same frame and art styles, but I know when you mix it up, things can get really busy really fast. I found interest by mixing sizes, shapes, thicknesses of frames, and textures, but I kept the color scheme limited to neutrals, blues, and hues of orange. I balanced out the wood pieces (two wooden frames and the vintage sign) by hanging them caddy corner from each other, and I tried to do the same with other colors involved in the arrangement, like the blue found in both the Hammerpress Iron & Wine poster and the framed needlework piece. I also thought about balance with the placement of the white frames caddy corner from the white void that’s to the right of the television.  The yellow circles pop art piece and the little orange acrylic painting were similar enough in color that I thought they should be separate from each other for balance too.

I’m sneaky and arranged (and rearranged, and rearranged) all of my art in Photoshop to make sure everything would fit nicely, moving things around digitally before actually hammering nail holes in my wall. I was attempting to work with just the art I already owned, but when I had everything how I wanted it in Photoshop, there were some empty spots that still needed filled- like where the 2 8×10 white frames are now and where the little square frame is at the top right. I noted the size of the gaps and went out to the store to buy the frames to fill them. It cost me $25 total for the three frames (from Pat Catans and Marshalls), and the art I put inside was homemade/free, so I’d say I did a pretty good job compiling the gallery wall without running out and buying new things to beef it up. I was concerned about the open space to the right of the t.v., and thought about buying some art to fill it, but instead I just put a plant there and I really like how it looks. Now- to keep the plant alive!

I’ve been pinning gallery wall inspiration recently on Pinterest if you’d like to take a look at my “In My Home” board!

How to Balance out a T.V. with a Gallery Wall

 Older