A Makeup Holiday at Our House

On December 5, 2011, our tree stand broke in half, sending our Christmas tree crashing to the ground. The next two days we drove around town trying to find a replacement stand, but each one didn’t quite work. The frustrating search didn’t seem to matter much anymore though when on December 7th, my friend Lauren took her life, and two days later my two month old unborn baby died. Our Christmas tree laid in the middle of our living room floor, pathetically lit and undecoratd until New Years, when we finally packed it away. What a sad holiday season it was for us.

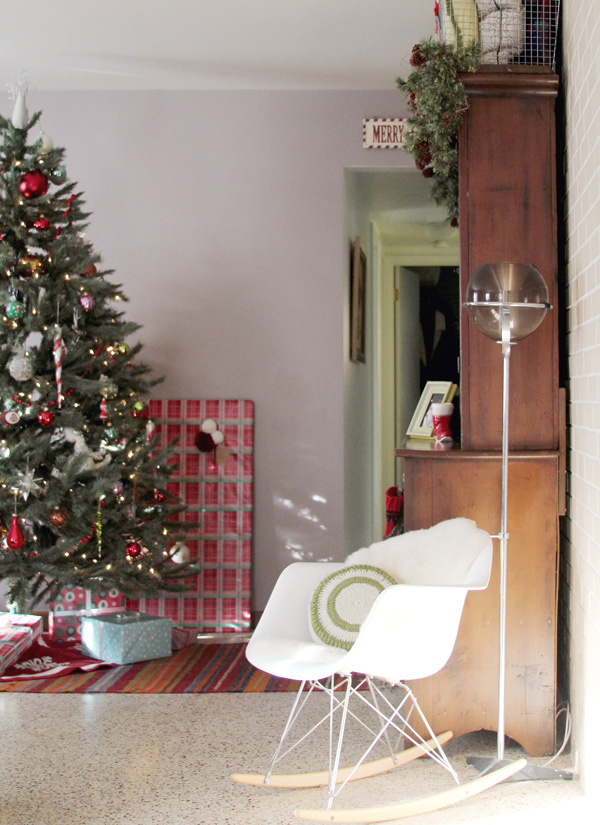
But remember when I talked about patience and weathering through the bad stuff until good things come along? Well, this year is it! We will be celebrating with my whole family in our new house with our new precious baby. This Christmas is sort of a makeup holiday for last year. Lauren is still gone, and nobody here on earth can give me back the child I lost. But this season is about hope, and we’ll be celebrating hope in Christ with refreshed hearts this year! And how exciting this season of life is!
Fine & Dandy Vintage | Fall Update Part III

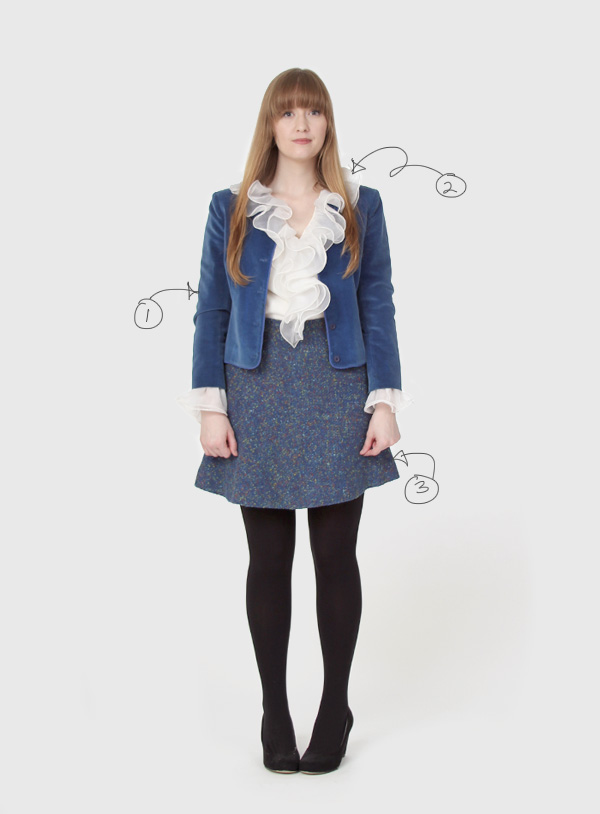
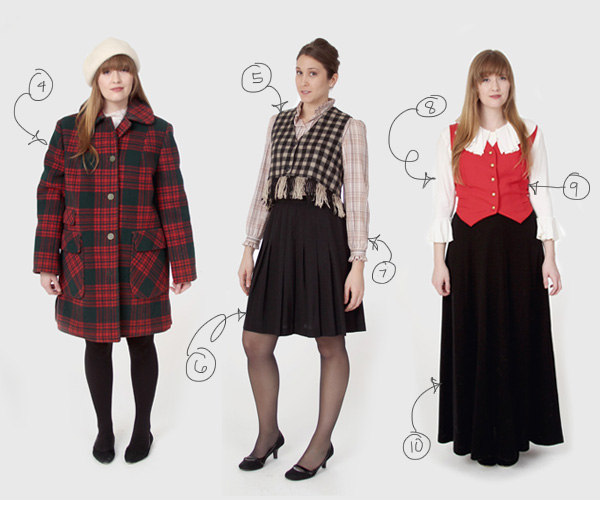
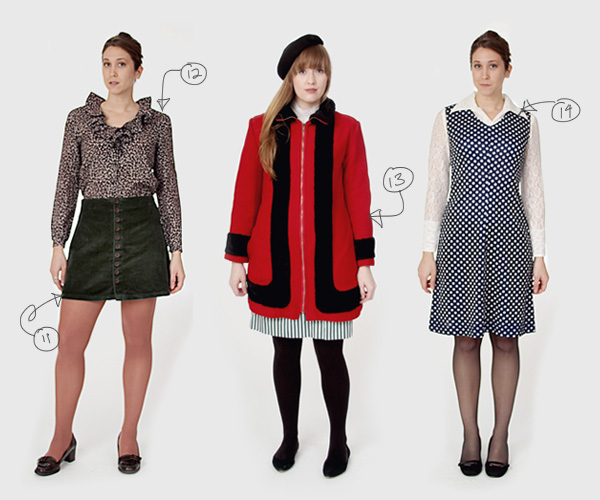
More pretty things just appeared at Fine & Dandy Vintage! My favorite outfit combination is the one above. Doesn’t Allie look so cute all decked out in blue? You can buy this outfit at Fine & Dandy, or check out the other ensembles below. Which one is your favorite?

click to shop each item: 1 2 3 4 5 6 7 8 9 10 11 12 13 14

click to shop each item: 1 2 3 4 5 6 7 8 9 10 11 12 13 14

DIY | Perfectly Fluffy Pom Poms

The perfectly fluffy pom pom can be a frustrating thing to make! I’ve done my fair share of pom pom making, and finally discovered the perfect way to make them- without even needing to shape them with scissors at the end. Finally! Another multi-tasking craft to do while watching Netflix in the evenings.

I used my pom poms to make a garland over our windows and to decorate wrapped gifts. (I’ll show you those later!) But for now, here’s how you can make your own- and if you’re interested, here‘s the video I watched to learn how to make them.

Find a small piece of cardboard (I used a flap from a cardboard box) and trace a circular object from around your home, and a smaller one inside of it. Do this twice and cut out around the circles and inside of them. It’s okay, and even helpful, to have a slit on your circle in order to cut out in the inside.

Next, stack the two circular pieces of cardboard on top of each other and wrap with lots and lots of yarn. I wrap 6 strands of yarn at once, to save time and joints while wrapping- this is the most time consuming part. After you’ve wrapped it so much that you can barely wrap any more, cut the yarn around the edges, sliding your scissors in between the two pieces of cardboard to make sure you’re trimming it on center. After trimming, slide a long piece of yarn in between the two pieces of cardboard and tie very tightly, double and triple knotting it to keep the yarn secure. Now pull off the cardboard, and your pom pom is complete! So fluffy, and no extra trimming necessary!

Tip: A lower ply yarn (I like the 3 ply soft baby yarn for this) makes a more sumptuous pom pom. It will take longer to wrap, so you will want to warp about 6 strands of yarn at a time.


 Older