Record Cabinet Makeover

record cabinet makeover- Making Nice in the Midwest

This sad little $5 record cabinet had been sitting neglected in our home for a few years now. When I found it sitting in a lonely corner of an antique mall, I had grand plans for refinishing it in some fun way, but of course- never got around to it! Mostly I was intimidated by the track that the two doors slide on, because I didn’t know how to paint it all without getting the doors stuck closed in the process. I’ve been seeing a lot of paint-dipped style furniture and home accessories floating around the internet for the past couple of years, and figured that would be the perfect way to paint the cabinet, without worrying about painting the track. I was a little hesitant to refinish the record cabinet in this graphic paint-dip style. Is it too trendy? Is the trend too “last year?” But then I figured, hey, it was just a $5 cabinet. I don’t have to hang onto it forever. And I’m pretty sure the internet public is the only part of my life that actually cares if home trends are passé. And besides. I was too lazy to figure out painting the track and doors any other way!

Of course, as soon as the paint and varnish dried and I brought this puppy back inside, Phil looked at it, tilted his head a little, and said, “Why did you only paint half of it?” Oh dear.

record cabinet makeover- Making Nice in the Midwestrecord cabinet makeover- Making Nice in the Midwestpaint dip diy

paint dip diy

  1. Lightly sand the surface of every area to be painted or varnished, going with the direction of the grain. Then clear off all of the dust with a damp rag.
  2. Open the doors to the cabinet and tape off the edges of the opening. Now cut pieces of masking paper a bit larger than the opening and tape in place to block the inside of the cabinet from any paint overspray.
  3. Measure down from the top of the cabinet to the point you want the painted area to end. Mark each corner with a little pieces of tape, then connect the pieces of tape with longer strips of masking tape to create a line all around the cabinet. Be sure to tape each door separately from the cabinet itself. Using your thumbnail, press into the edge of the tape to make sure there are no little cracks that paint can sneak through.
  4. Now cut pieces of masking paper and tape them along the masking tape line you just made, making sure every part of the cabinet that won’t be painted is completely covered in paper.
  5. Begin with several very light coats of primer until the paint can is empty. When the primer is dry, move onto the paint itself and spray in light coats, going left to right and top to bottom for each spray.
  6. Before your last two light coats of paint, let the surface dry for a day and then lightly sand down the paint with the 180 grit sandpaper. This will smooth out any little bumps or drip spots that may have occurred during previous coats. Then wipe it down and spray with the last of the paint.
  7. Remove the masking tape and paper and finish with two coats of varnish of polyurethane over the entire cabinet. Make sure you allow the paint on the cabinet to cure for at least a couple of days before setting anything on top!

record cabinet makeover- Making Nice in the Midwestrecord cabinet makeover- Making Nice in the Midwest

Dreams of Bedrooms Past

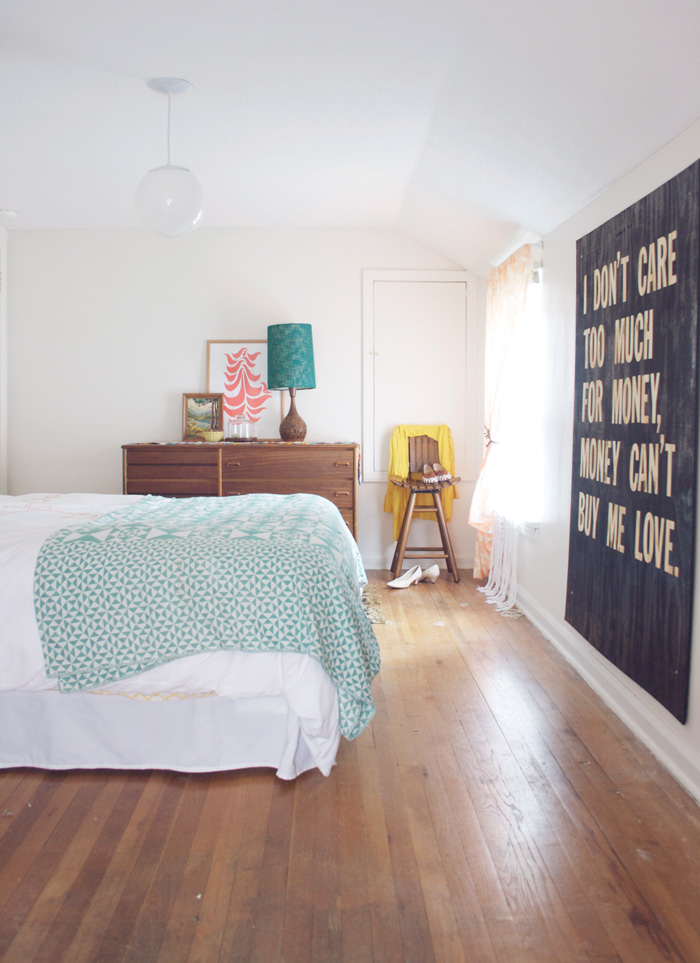
Mandi's Bedroom- Making Nice in the Midwest

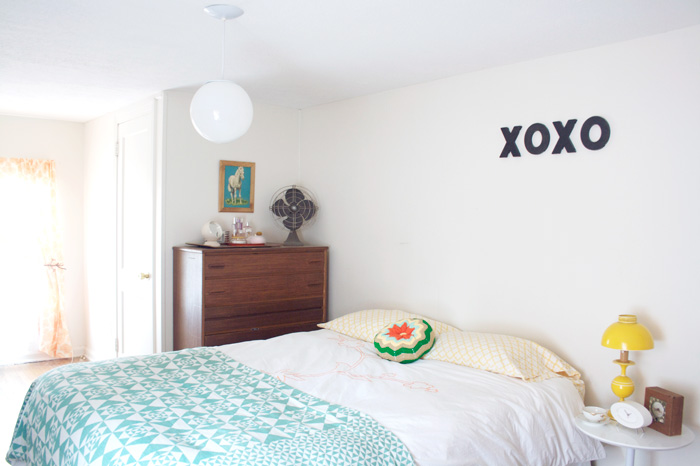
When my computer died, I spent some time delving into my old external harddrives, an experience which I quickly discovered is not unlike browsing old family photo albums. I had photos backed up from 2007, and some from even earlier. What particularly kept my interest were the photos from the days when Phil and I lived with my brother. Yep, the three of us shared a tiny roof of an old Ohio bungalow, and even better than the excitement of renovating the house was the fact that we all actually got along really well. It was lots of fun! For the most part. As much as people joked about it, I don’t think our two years together in this house would be exciting enough for a sit-com, but who knows? Maybe someday I’ll turn it into a novel!

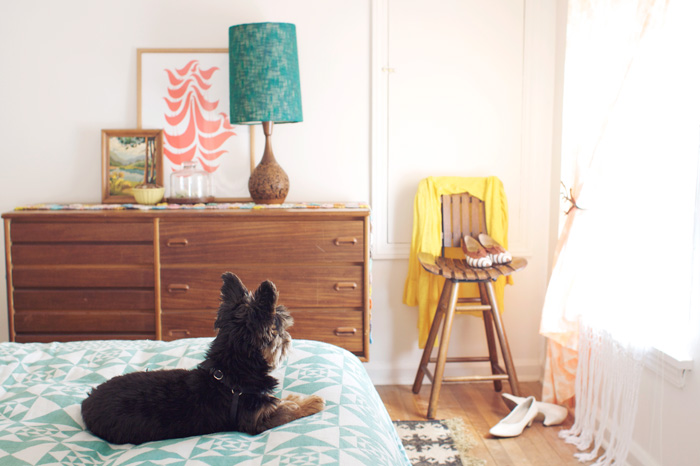
Right now Phil and I live in a small ranch, and have been working on making changes as our budget allows. (Check out some photos of our living room here and dining room here.) Probably the last room we’ll really touch is our bedroom. It’s pretty awful right now. We actually have sheets tacked up over our windows! It’s difficult to remember what it was like having a pretty bedroom all those years ago, but I’m so glad I stumbled on the photos! It’s great inspiration to make a few easy changes to the bedroom we have now. After all, when you’re a married lady, you definitely shouldn’t neglect the bedroom, eh?

Mandi's Bedroom- Making Nice in the MidwestMandi's Bedroom- Making Nice in the MidwestMandi's Bedroom- Making Nice in the MidwestMandi's Bedroom- Making Nice in the MidwestMandi's Bedroom- Making Nice in the MidwestMandi's Bedroom- Making Nice in the Midwest

At Home with A Beautiful Mess

midwest eclectic vintage living room

Elsie and the gang at A Beautiful Mess have featured our living room as a part of their “At Home With” series! I appreciated the reminder to capture our home at this moment in time, as this place is like a living creature- constantly changing as the days go by. Head on over to my interview at A Beautiful Mess to see more photos of our living room and to read a bit about our home and my favorite treasures.

L I V I N G   R O O M   D E T A I L S :

Mostly everything in our living room is second-hand or homemade, so I don’t have sources for you to find your own. But I did find a similar coffee table here, our shell chair rocker can be purchased here, the ice cream poster can be found here, and the photo frames here. I bought my kilim rugs from eBay and can recommend this seller and this seller. If you’re ever in the Canton area, you can shop some of my favorite sources for affordable second-hand home decor- the Route 43 Antique Mall (in Cairo near Hartville), the Medina Antique Mall, and Stagecoach Antiques (Akron).

Our bookshelves were made with poplar wood (7″ pieces at the top, and 14″ pieces at the bottom) and were mounted using standards and brackets that can be purchased at any hardware store. I did have to special order 6″ brackets from here, though. I used brackets that were smaller than the width of my shelves, and on the bottom of the shelves  I used a dremel to notch out the space for the raised bracket edges to fit together with each shelf. If you have any questions, I’ll answer them in the comments!

eclectic vintage living roomvintage art bull fighterlarge ice cream poster debbie carlosmegafaun record player

 Older